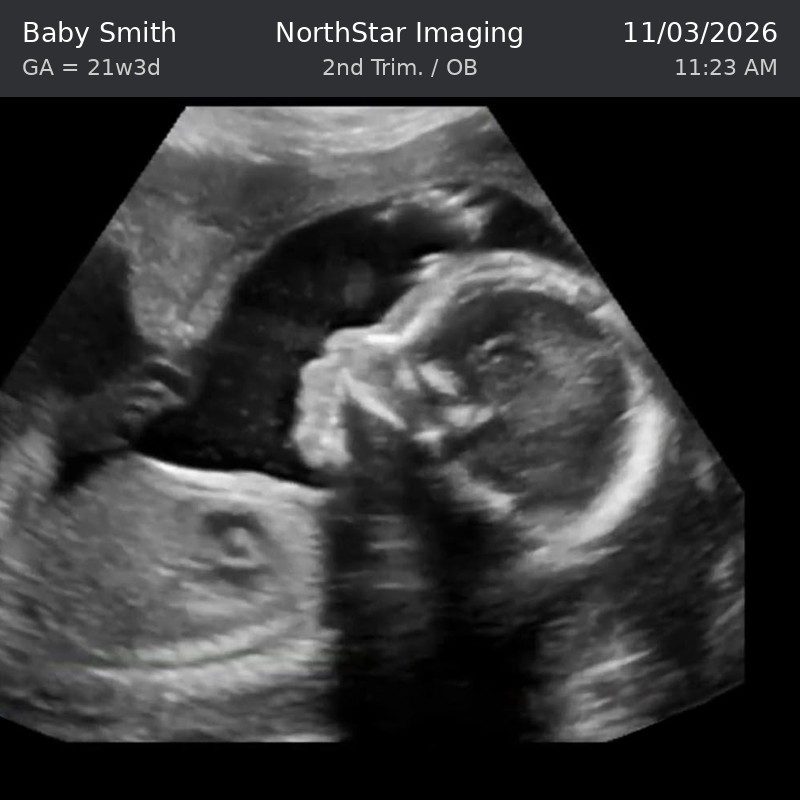
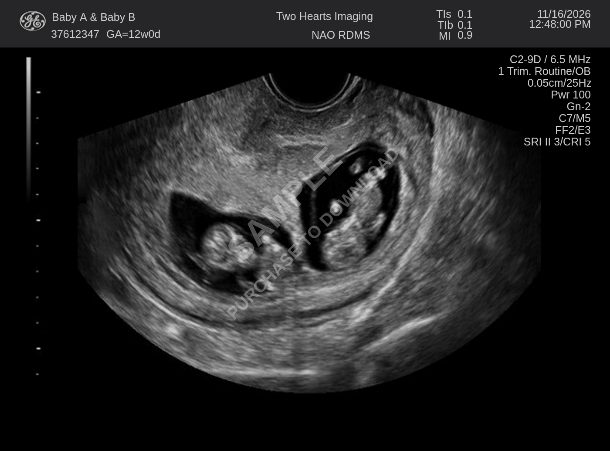
Baby & pregnancy announcements
How to make an ultrasound picture online (with a free preview)
Whether it's for a pregnancy announcement, a gender reveal, a baby shower game, a film prop or a harmless April Fools' joke, you can make a realistic ultrasound picture online in a few minutes. This guide walks through it step by step, explains what a scan looks like at each week, and shows how to get a result that looks right.
What you need
Just a phone or a computer and the details you want on the picture: a name, a place (clinic or hospital name), a date and time. Everything happens in the browser with the Ultrasound Maker. There's nothing to install and no account to create first. The live preview is free, so you can see exactly what you'll get before paying anything. The preview carries a "SAMPLE" mark that disappears on the download.
Free live preview, weeks 3 to 40, single or twins.
Step 1: choose the type of scan
At the top you'll see four tabs:
- Single Fetus: the classic scan, one baby, every week from 3 to 40.
- Twins: twin scans from 5 to 20 weeks, where you can see both babies.
- Special Views: close-ups like a face, feet, a hand, a heartbeat strip, or a scan that shows boy or girl.
- Upload Your Own: use your own scan picture and add the names, dates and text on top of it.
Step 2: pick the right week
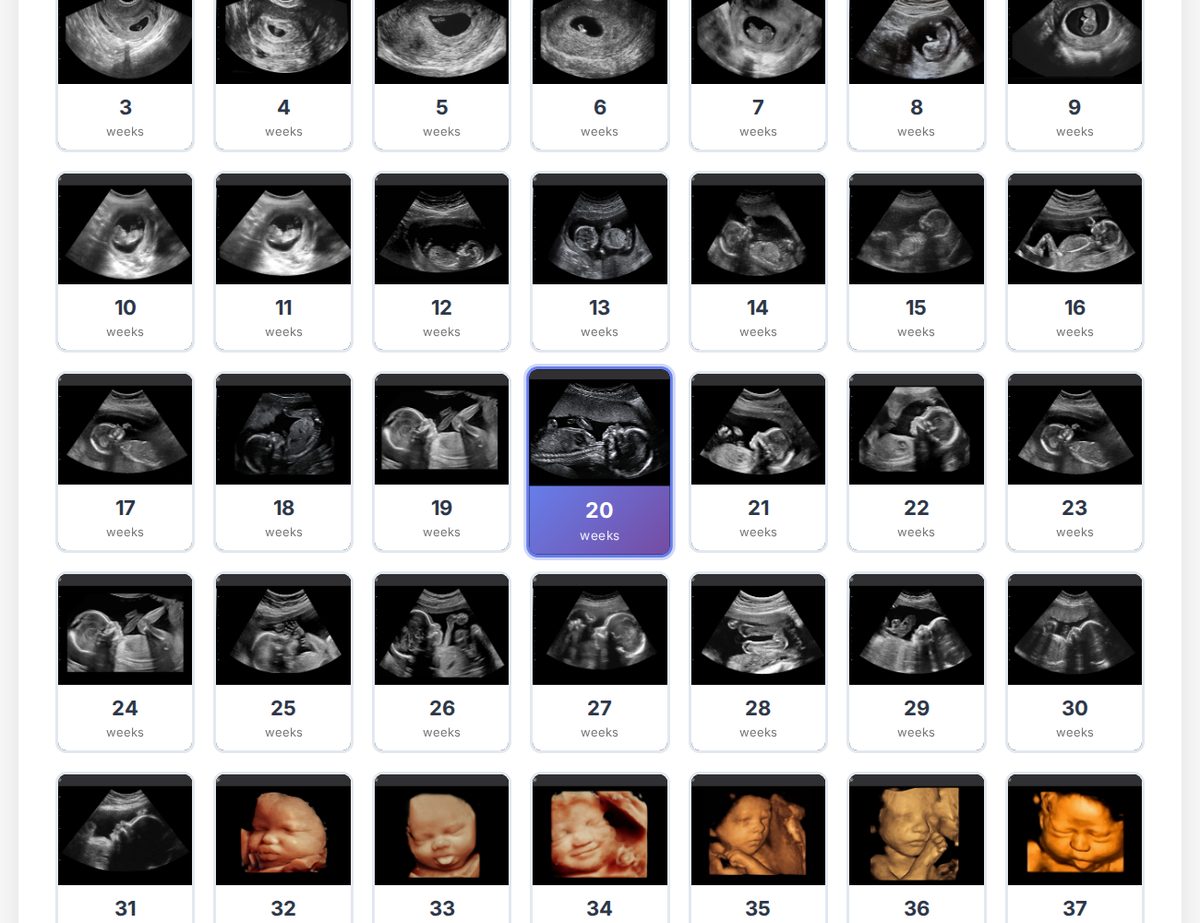
This is the step that makes the picture believable. A scan looks very different at 6 weeks than at 30, so pick the week that fits your story. Here's what a scan usually shows at each stage:
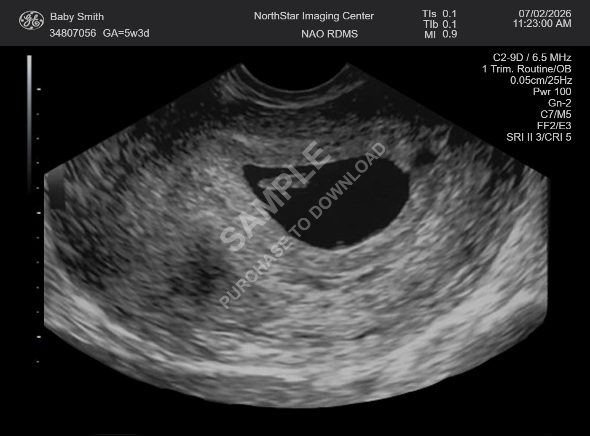
Weeks 3 to 5: a small dark circle
Very early scans show the gestational sac: a dark oval in the grey of the uterus. There's no baby shape yet. These are good for "we just found out" announcements where you want to be accurate about how early it is.
Weeks 6 to 9: the "little bean"
A tiny shape appears inside the sac, often nicknamed the bean or the gummy bear. Around this time a heartbeat is often detected on a real scan. Popular for first-trimester announcements to close family.
Weeks 10 to 14: a recognisable baby
Head, body, arms and legs become clear, and you can often see the baby in profile. This is the most popular range for announcements, because people instantly recognise a baby. Many parents share the news around 12 weeks.
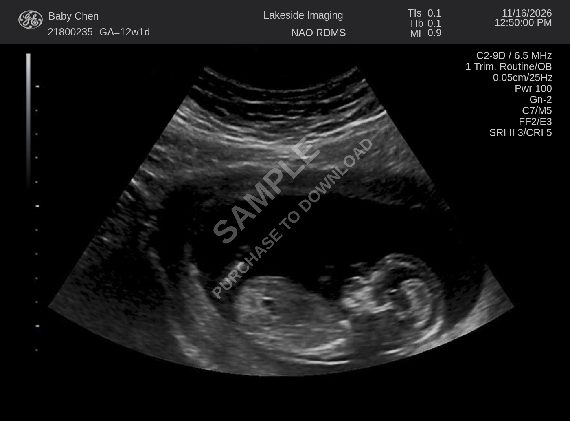
Weeks 15 to 24: the detailed profile
The baby fills more of the screen, the spine and bones look bright, and the face profile is clear. The mid-pregnancy anatomy scan happens around 18 to 22 weeks, and that's often when parents find out boy or girl, which makes it the go-to week for gender reveals.
Weeks 25 to 31: close and crowded
The baby is too big to fit in one frame, so scans focus on the face, hands or feet. Great for third-trimester updates and baby shower slideshows.
Weeks 32 to 40: 3D-style portraits
The late weeks in the Ultrasound Maker include golden 3D-style scans that show the baby's face, like the ones many parents get at a private 3D/4D scan. These make beautiful prints and canvases.
Step 3: choose the image
Each week has one or more images to choose from. Pick the one where the baby is easiest to see at phone size: that's how most people will look at it. Then tap Next.
Step 4: personalize the header
The dark bar at the top of a real scan shows the patient's name, an ID number, the gestational age (GA), the clinic and the date and time. In the Ultrasound Maker you fill these in on the left and watch them appear on the right:
- Full name: the name to show, like "Baby Rivera", "Jane Smith" or "Little Bean".
- Date of birth: optional. Untick "Show" to leave it off.
- Location: a clinic or hospital name. Many people invent a cute one, like "Sunrise Imaging Center".
- Scan date and time: with a choice of formats (MM/DD/YYYY, DD/MM/YYYY, DD.MM.YYYY, YYYY-MM-DD or your own), and 12-hour or 24-hour time.
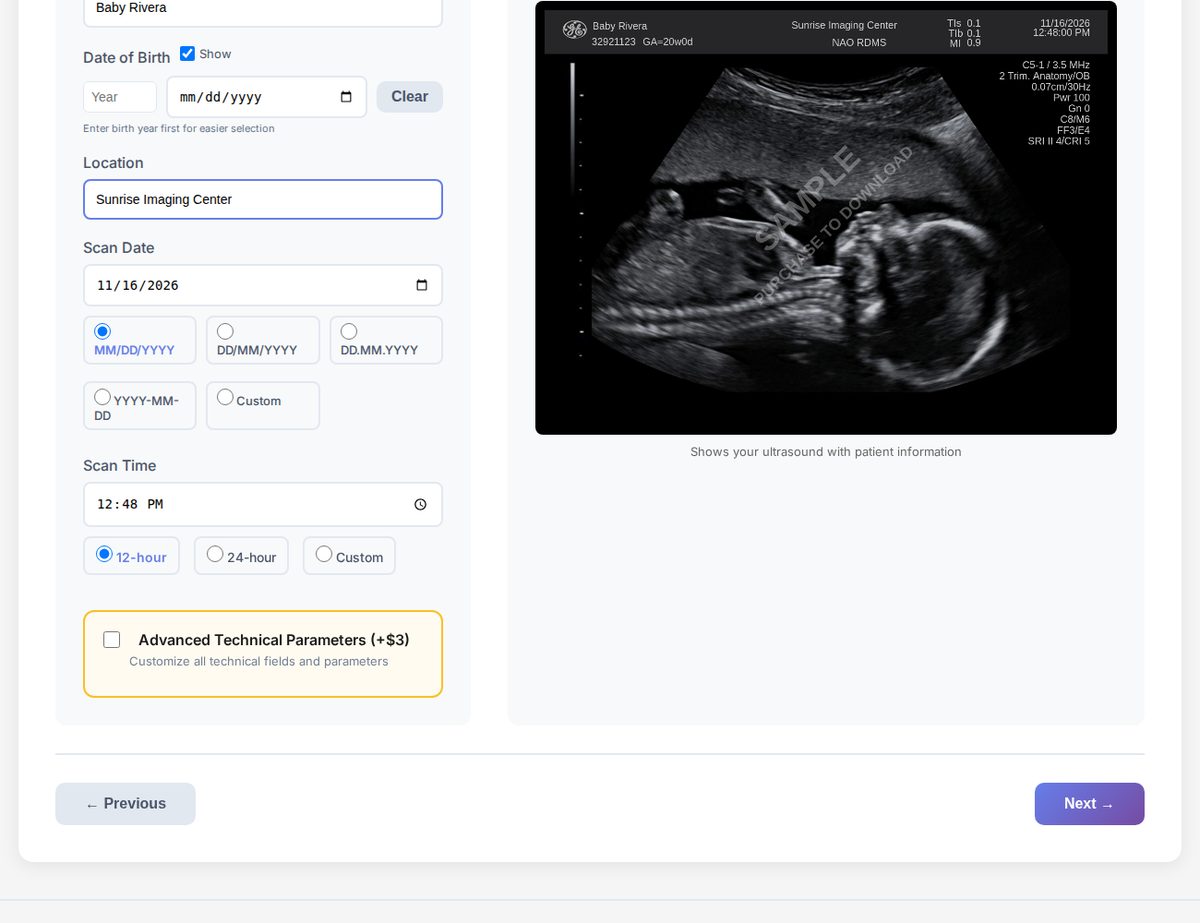
Step 5: add fun text and emojis (optional)
The Add Fun Stuff step lets you put text and emojis on the picture:
- Gender: It's a Boy!, It's a Girl!, Twin Boys!, Twin Girls!, Boy & Girl!
- Fun text and custom text: "Hello world", "Coming May 2027", "Baby #2", or anything you type.
- Emojis: tap one to drop it on the scan, then place it where you like.
Click an item to select it, drag the middle to move it, drag a corner to resize, and use the round handle on top to turn it. On a phone, drag with one finger and pinch with two. Skip this step if you want a clean scan.
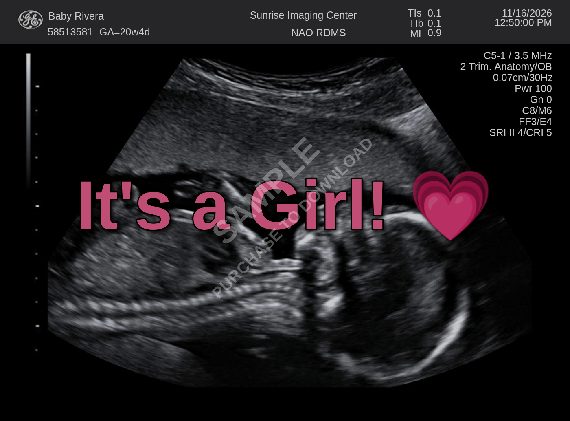
Step 6: review, download, or print
The Review step shows the finished picture. Go back to change anything. When you're happy, continue to download the high-resolution image. From the same page you can also have it printed on a canvas, a poster or a mug and delivered.
Frequently asked questions
Can I try it for free? Yes. Choosing the week, typing the details, adding text and seeing the result are all free. You only pay when you download the clean, full-resolution image.
Can I use my own ultrasound? Yes, with Upload Your Own. It's a nice way to add names, a date or "It's a Boy!" to a real scan without changing the original.
Can I make a dog or cat ultrasound? Yes. There's a Dog Ultrasound Maker and a Cat Ultrasound Maker that work the same way, with litter sizes and a vet-clinic header.
Is it a medical image? No. These are novelty pictures for announcements, gifts, games, props and jokes. They don't say anything about a real pregnancy and can't be used as medical records.
Ideas for what to do with it
- 21 pregnancy announcement ideas built around the scan.
- Gender reveal ideas using the boy or girl overlays.
- Twin announcement ideas with the twins scans.
- How to tell the grandparents.
Start free: the preview updates as you type.